To add the controller to Centralus, go to your Centralus account. You must have a free Hunter account to add a controller.
- From the Main Menu icon in the software, select ADD CONTROLLER.
- Type a NAME for the controller, and the 10-digit serial number from the A2C-LTE or A2C-CELL-E module.
The serial number is printed on the module, and is also visible on the controller’s Network Info screen. Enter all zeroes that are included in the serial number and click Next. Enter a valid address for the controller location, and choose the connection type. You must select CELLULAR or you will be unable to complete the setup successfully. The setup process will continue to the billing and activation screen via Hunter’s secure, third-party cellular service provider. You will return to the setup process when this step is complete.
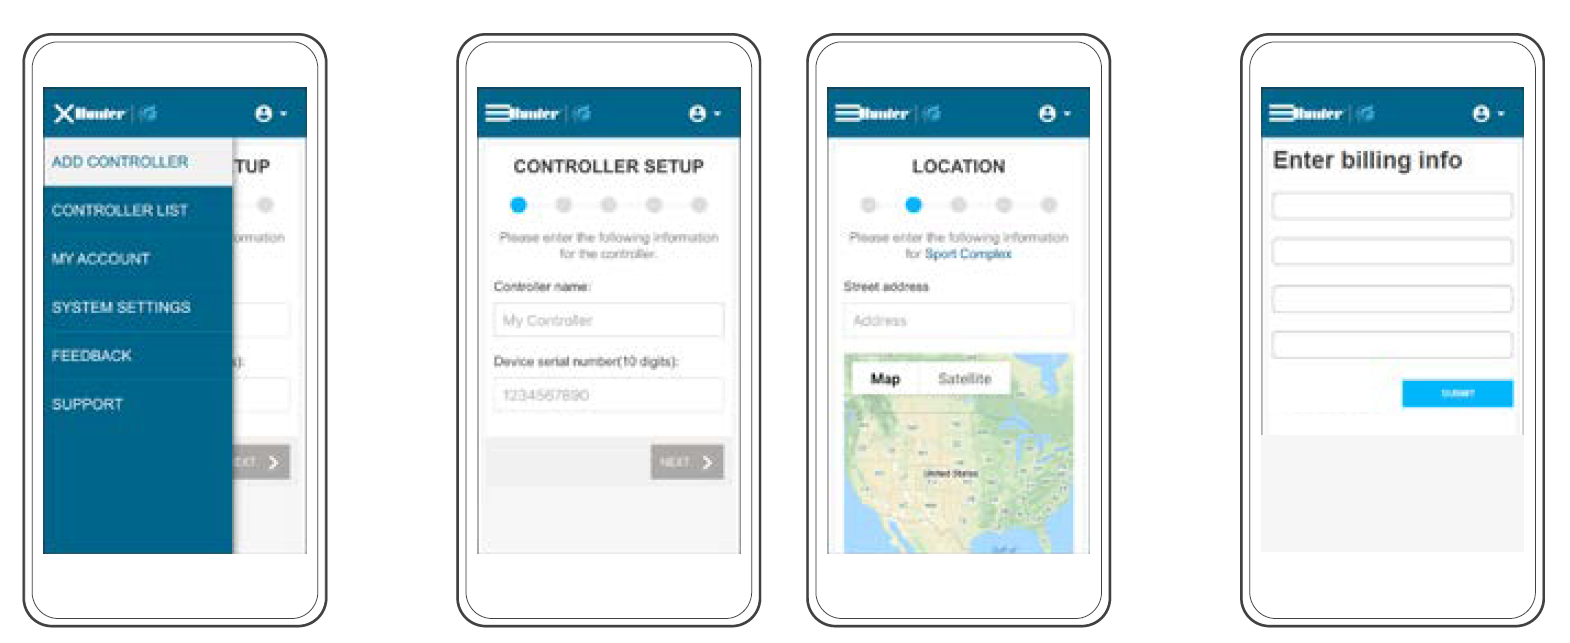
Follow the on-screen instructions to set up billing and payment. When the billing process is complete, click to continue with the controller setup. Enter the controller address. The address must be a valid address in Google Maps™ to be accepted. Press Next. The controller will now be sent a Controller Verification Code for security purposes.
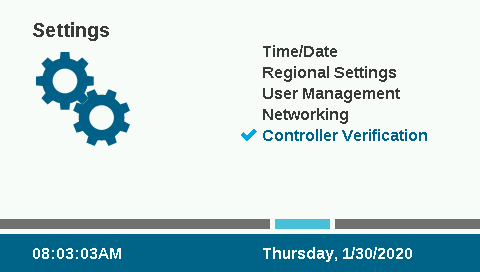
Go to the controller menu for Settings, and select CONTROLLER VERIFICATION. You must select the Controller Verification screen before pressing NEXT, or the code will not be sent (the software must detect the correct screen in the display before sending the code). Enter the code number that appears on the Controller Verification screen into the software setup screen.
If the Verification Code is correct, the controller will be added to the software and the map. The networking icon on the Home screen of the controller should now have a green status icon.
Still need help? We're here.
Tell us what you need support with and we'll find the best solution for you.