A Turf Cup Kit (P/N TURFCUPKITI40) is a great user-installed option for blending a rotor into the surrounding field material.
1
Access the top cover screws by prying out the little covers one at a time.
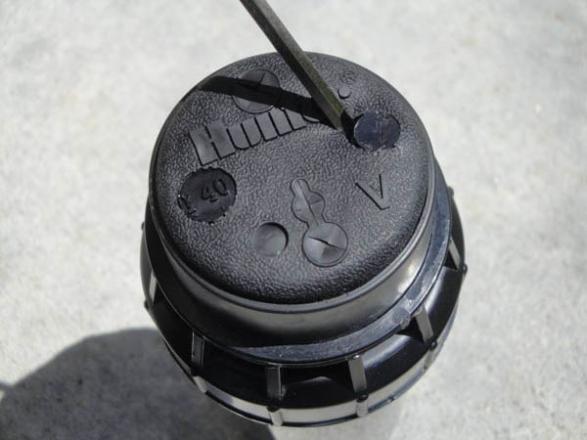
2
Remove plastic screw covers.
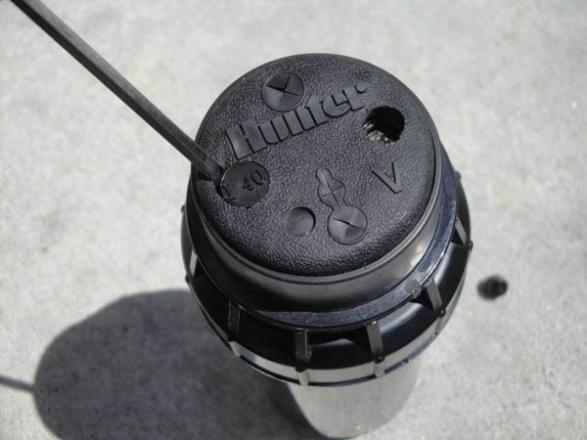
3
After the screws are exposed, you can use a common Phillips head screwdriver to remove them.
4
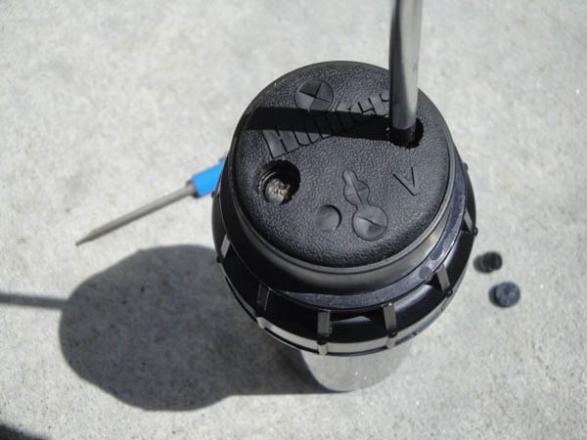
Remove both screws.
5
Once the screws are removed, you can now take off the stock body cap.
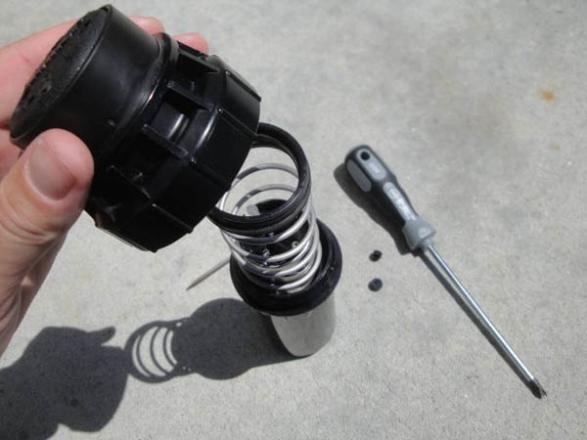
6
If done properly, the riser seal and riser seat should still be in place.

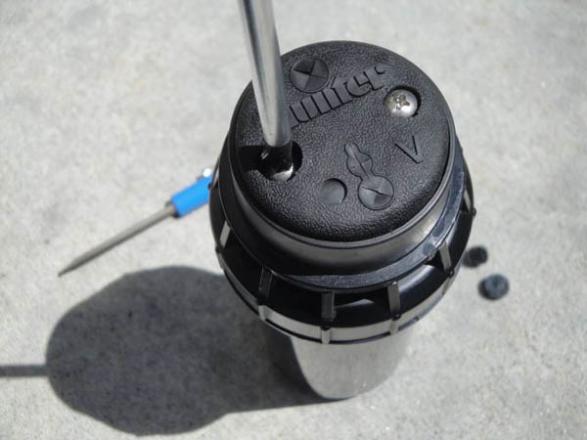
7
You can now push on the turf cup body cap, while it's compressed tighten the screws.
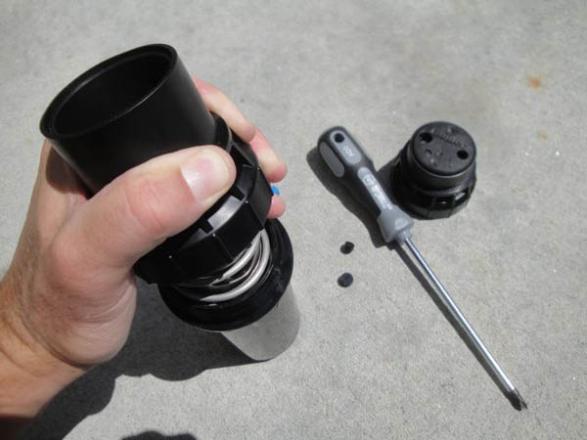
8
Hold cap while tightening screws.
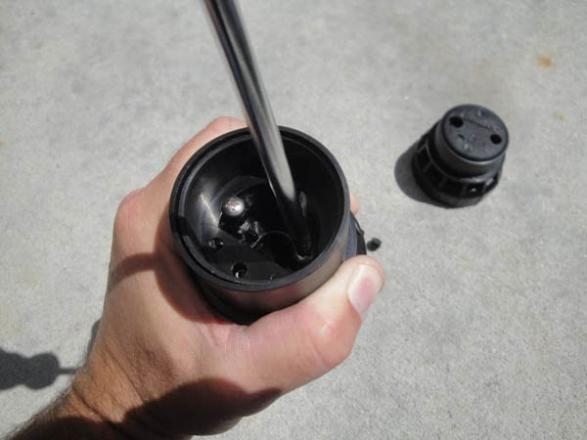
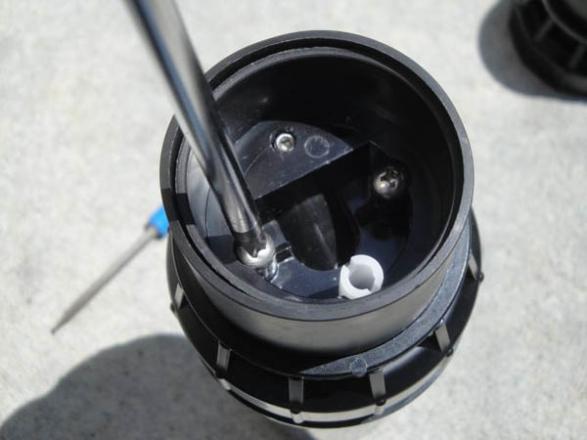
9
Tighten both screws.
Still need help? We're here.
Tell us what you need support with and we'll find the best solution for you.