Primary Nozzle Removal and Installation
- Insert the hex-key end of the Hunter Wrench into the primary nozzle “arrow” located on the top of the rubber cover.
- Raise the nozzle-retaining screw by turning counterclockwise. Raise the screw until it clears the nozzle opening.
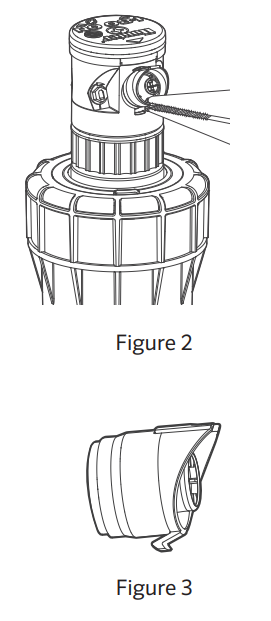
- Using small needle-nose pliers, firmly insert the tip of the pliers into the opening below the nozzle (Figure 2). This action will collapse the nozzle’s retaining hook (Figure 3). While gripping the nozzle, pull outward to remove.
- Slip the desired nozzle firmly into the nozzle socket. Lower the nozzle retaining screw to retain the nozzle.
Short-Range/Mid-Range Nozzle Removal and Installation
- Reference the I-80 and I-80-ON performance charts to determine the correct nozzle part number and color.
- Use the Nozzle Installation and Removal Tool (P/N 803700SP) to service all short-range and mid-range nozzles.
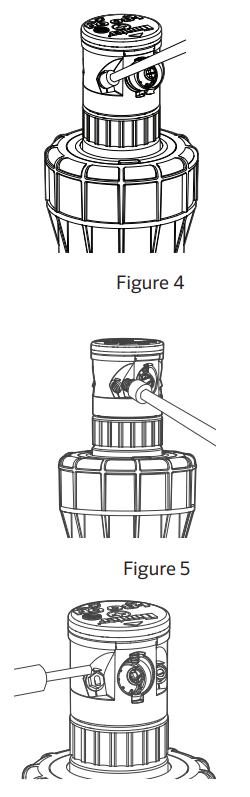
- When facing directly toward the nozzles, short-range nozzles are on the left and mid-range nozzles are on the right. To remove a nozzle, firmly align and press the tool against it while turning counterclockwise (Figure 4).
- To install the nozzle, engage the tool to the nozzle. Then carefully align the nozzle to the housing. Use care to prevent crossthreading and turn clockwise (Figure 5).
- Each short-range and mid-range nozzle has an alignment pointer. Turn the nozzle clockwise until the pointer is facing the 12:00 position (Figure 6).
Still need help? We're here.
Tell us what you need support with and we'll find the best solution for you.