When installing nozzles you must also correctly set the stator to ensure proper speed of rotation. Failure to correctly set the stator may cause a non-rotation condition. Click here for stator ring installation and adjustment instructions.
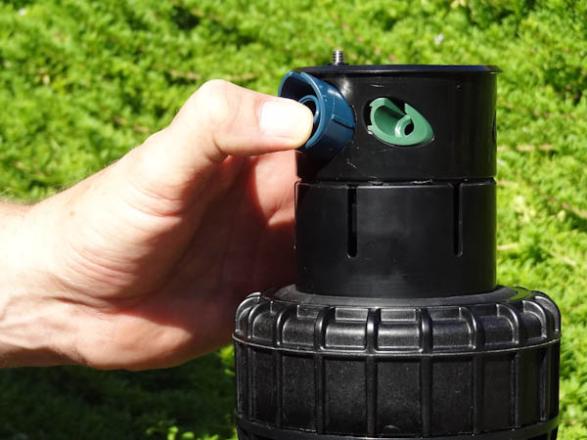
Remove the logo cap, which is retained by a central Phillips screw.
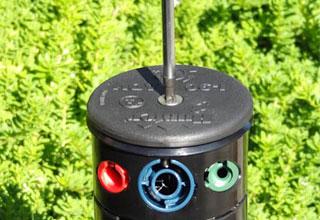
Removing the logo cap will allow access to the nozzle's set screw.
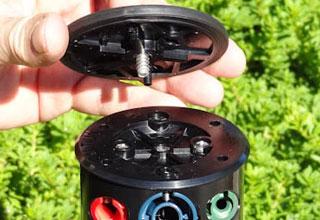
The nozzle is retained in the nozzle housing by a setscrew. Back out the setscrew using the hex key on the Hunter wrench to allow for nozzle removal.
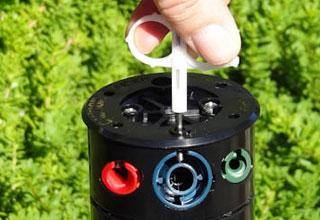
Grasp the nozzle with pliers and pull to remove.
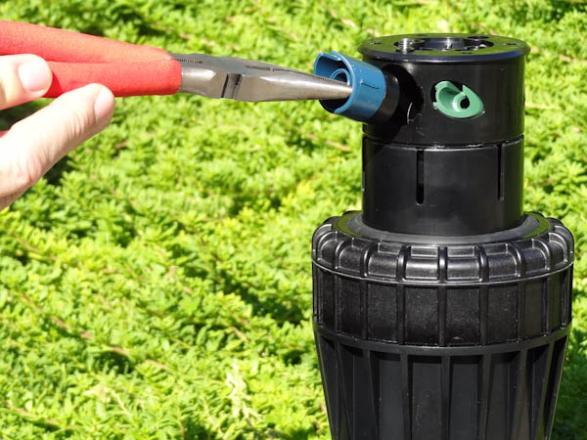
Insert the replacement nozzle in the housing. Press firmly to fully seat the nozzle so that it will clear the retaining setscrew.
Using the hex key on the Hunter wrench, turn the set screw down to retain the nozzle. Replace logo cap and the central phillips screw.
Still need help? We're here.
Tell us what you need support with and we'll find the best solution for you.